Mastering the Art of Pottery: A Practical Guide
By Halima Ferreira · · 6 min read
Creating pottery is a timeless craft that merges art and functionality. Whether you’re looking to make unique pieces for your home or gifts for loved ones, mastering the art of pottery requires practice, patience, and a bit of knowledge. This pottery tutorial will provide you with a detailed, step-by-step approach to creating beautiful ceramic pieces from scratch, perfect for both beginners and experienced artisans looking to refine their skills.
Understanding Pottery: A Brief Overview
Before delving into the practical aspects of pottery, it’s essential to understand what pottery is. At its core, pottery involves shaping clay into items that can be hardened by heat. These items can range from functional dishes and vases to decorative sculptures. The two primary types of pottery include:
- Earthenware: Easily recognizable by its porous nature, earthenware is typically fired at lower temperatures. The result is a softer, more fragile product.
- Stoneware: This type of pottery is fired at higher temperatures, making it durable and water-resistant, ideal for functional pieces.
Tools and Materials You’ll Need
To get started with your pottery project, gather the following tools and materials:
- Clay: Choose either earthenware or stoneware clay, depending on your project.
- Pottery Wheel: A pottery wheel will help you shape your clay with precision.
- Sponge: Useful for smoothing and wetting the clay.
- Cutting Wire: Essential for slicing pieces of clay or cutting them off the wheel.
- Wooden Tools: For shaping and detailing.
- Kiln: Necessary for firing your finished pieces.
- Glazes: For decorating and sealing your pottery.
Step 1: Preparing the Clay
Before starting any pottery project, the quality of your clay is crucial. Follow these steps to prepare it:
- Wedging: This involves kneading the clay to remove air bubbles. Air can cause defects during firing, leading to cracks. Push the clay away with your palms, fold it over, and repeat.
- Checking Moisture: Ensure that your clay is neither too dry nor too wet. Aim for a consistency similar to playdough — it should be pliable but not sticky.
Expert insights suggest that achieving the right moisture content enhances your control during shaping and reduces the risk of defects in finished pieces. For a more consistent texture, mix different clays if necessary.
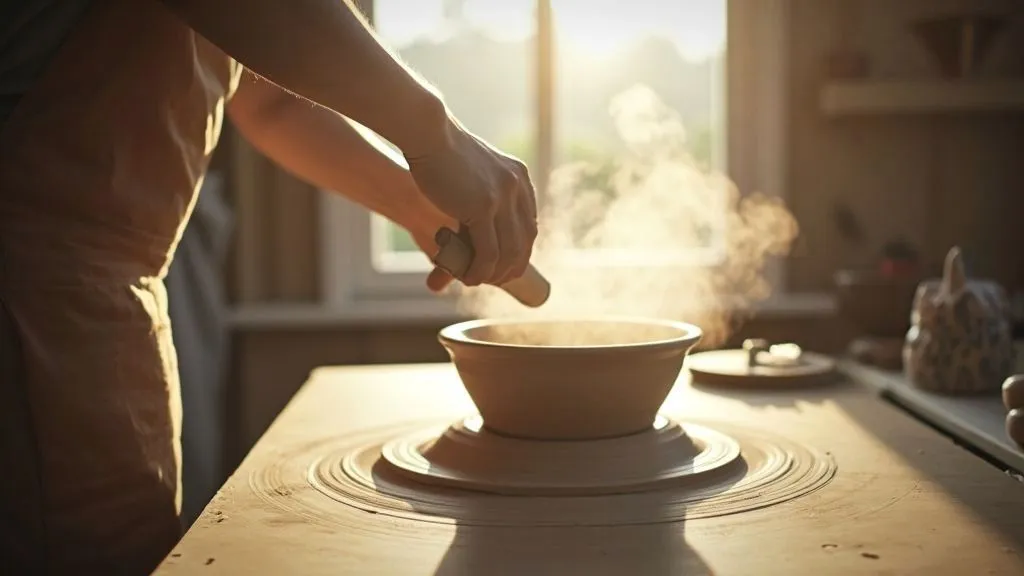
Step 2: Centering the Clay on the Wheel
Once you have prepared your clay, it’s time to hit the pottery wheel.
- Form a Ball: Start by rolling your clay into a ball — this will help during the centering process.
- Positioning: Place the ball of clay in the center of the wheel. It helps to slightly press down to secure it.
- Wet Your Hands: Apply water to your hands to prevent sticking.
- Spinning: Turn on the wheel and gradually increase the speed.
- Centering: With both hands, apply pressure to the sides of the clay ball. Use your palms to push down and inward. This may take some practice, as centering is one of the vital skills in pottery.
According to pottery experts, centering is often the most challenging part for beginners. Spend time practicing this skill, as it affects your ability to create evenly shaped pieces.
Step 3: Shaping Your Pottery
Once the clay is centered, you can begin shaping your piece.
- Creating a Base: Using your fingers, push downward in the center to form the base. Gradually widen it by pulling your hands outward.
- Building Walls: As you lift the walls, apply consistent pressure. Use your thumbs at the top and your fingers on the outside. This step requires steady hands and patience.
- Creating the Desired Form: Continue to manipulate the clay into your desired shape — be it a bowl, vase, or pitcher. Experiment with different forms to find your signature style.
Step 4: Trimming and Detailing
Once the shape is complete, it’s time to refine your piece.
- Trimming: Allow your pottery to dry to a leather-hard state, which is when it’s firm but still retains some moisture. Use a trimming tool to shape the base and remove excess clay.
- Adding Details: This is where you can be creative. Use wooden tools to carve textures, patterns, or even add handles.
- Smoothing: Go over your piece with a damp sponge to smooth out imperfections and refine details.
Step 5: Drying Your Pottery
After trimming and detailing, careful drying is crucial for preventing cracks.
- Slow Drying: Cover your pieces with plastic wrap to dry slowly over several days. Rapid drying can lead to warping or cracking.
- Flipping: If your pottery stands upright, flip it onto its side after a day to ensure even drying on all sides.
Step 6: Firing Your Pottery
Once your pottery is completely dry, it’s ready for its first firing, known as bisque firing.
- Loading the Kiln: Place your pieces in the kiln, ensuring they’re spaced adequately to allow heat circulation.
- Firing Process: Set your kiln to the appropriate temperature for your type of clay (usually between 1830°F to 1940°F for stoneware). Monitor the firing process carefully.
- Cooling: Allow the kiln to cool completely before opening it. Rapid temperature changes can cause cracks.
Step 7: Glazing
Glazing adds color and protects your pottery from moisture.
- Choosing a Glaze: Select a glaze that complements your piece. Consider color, finish, and texture.
- Application: Apply glaze with a brush, spray, or by dipping. Ensure even coverage while avoiding drips.
- Second Firing: Once glazed, your pieces need a second firing at a higher temperature to set the glaze.
Step 8: The Final Touches
After the second firing, your pieces will be ready for use or display.
- Inspection: Check for any imperfections. A well-fired piece should feel sturdy and have a pleasing finish.
- Cleaning: Use a damp cloth to clean any dust or residue from the surface.
Tips for Pottery Success
- Practice Regularly: Like any skill, pottery improves with practice.
- Learn from Mistakes: Each piece teaches you something new. Don’t be discouraged by imperfections.
- Join a Community: Engage with local pottery groups or online forums for support and inspiration.
Considering Other Pottery Techniques
The world of pottery extends beyond wheel-throwing. Explore other methods such as slab building, coiling, or hand-building. Each technique offers unique opportunities for creativity and expression. Experimenting with different styles can also enhance your overall skill set.
Pottery and Mindfulness
Engaging in pottery can be a therapeutic process. The act of molding clay with your hands can help you focus and relieve stress. Many potters find that immersing themselves in the tactile nature of clay fosters a sense of mindfulness, allowing them to escape life’s distractions.
Conclusion
Creating pottery is not only about crafting beautiful pieces but also about enjoying the process. Each step offers a chance to express your creativity, learn new skills, and experience the joy of working with your hands. With the knowledge from this pottery tutorial, you are well on your way to producing stunning ceramic pieces that reflect your personal style. Embrace the journey and let your creativity flourish — who knows, you may discover a lifelong passion for this ancient art form.
As you refine your techniques and explore your artistic voice, consider documenting your progress. Not only does this serve as a valuable resource for your growth, but it may also inspire others to try their hand at pottery. So, gather your materials, get your hands dirty, and start creating. The world of pottery awaits you.