Mastering the Art of Pottery: A Comprehensive Step-by-Step Tutorial
By Halima Ferreira · · 4 min read
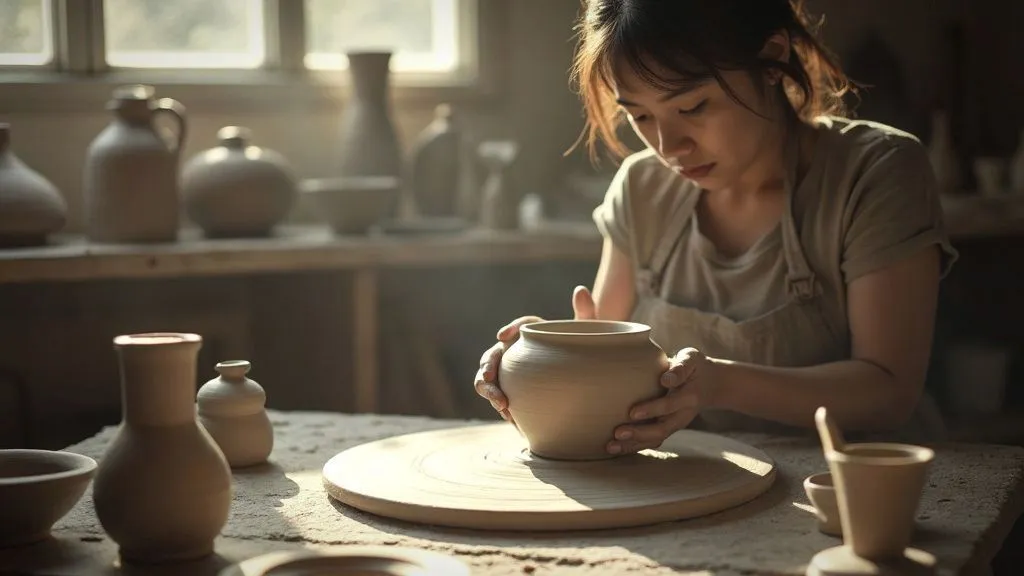
Pottery is more than a craft; it’s an ancient art form that connects us to our ancestors and allows us to express creativity through tangible objects. This pottery tutorial will guide you step-by-step through the entire process—from selecting the right materials to glazing and firing your creations.
1. Understanding Pottery: A Brief Overview
Pottery has been practiced for thousands of years. The earliest known pottery dates back to around 29,000 B.C. in Eastern Europe. Fast forward to today, pottery is a diverse discipline, encompassing various techniques, styles, and forms.
According to a 2019 survey by the American Craft Council, over 75% of Americans engage in some form of crafting, and pottery remains one of the most popular mediums. This tutorial aims to demystify the process so you can join in on the fun.
2. Essential Tools and Materials for Pottery
Before starting your pottery journey, it’s crucial to gather the necessary tools and materials:
Tools You Need
- Pottery Wheel: A motorized wheel for shaping your clay.
- Clay: Stoneware or earthenware are good beginner options.
- Sponge: For smoothing surfaces and adding moisture.
- Wire Cutter: To slice clay or remove pieces from the wheel.
- Scrapers and Rib Tools: For shaping and refining your piece.
- Kiln: For firing your pottery and hardening the clay.
- Glazes and Brushes: For finishing your pieces.
Material Selection
- Clay Types: Research and select a clay type suited to your needs. Stoneware is durable and versatile, while earthenware is more porous and less strong.
- Water: Keep it handy for your tools and hands, as you’ll need it frequently.
3. Step-by-Step Process of Pottery Creation
Step 1: Preparing Your Clay
- Wedging the Clay: Start by kneading the clay to remove air bubbles. This process, called wedging, is essential for ensuring even consistency and preventing cracks during firing.
- Moisture Check: Aim for a consistency that is soft but not overly wet. The right moisture level makes shaping easier.
Step 2: Centering the Clay on the Wheel
- Positioning: Place your wedged clay in the center of the wheel.
- Spinning: Turn the wheel on to a moderate speed. Press down firmly on the clay with your palms.
- Coning Up and Down: Use your hands to form the clay into a cone shape, then press down, centering it in the process.
Step 3: Shaping Your Pottery Piece
- Opening the Clay: Once centered, use your fingers to push down in the center, creating a well.
- Pulling Up the Walls: Gradually pull the walls up using your hands and tools. Keep your fingers wet to prevent sticking.
- Shaping: Use ribs or scrapers to refine the shape, smoothing and adjusting as necessary.
Step 4: Trimming
Once your piece is leather-hard (firm yet still damp), use a trimming tool to refine its shape and reduce excess clay. This step enhances the piece’s aesthetic and functional properties.
Step 5: Drying and Firing
- Drying: Allow your pottery to dry completely. This may take a few days, depending on thickness and environment.
- First Firing (Bisque Firing): Load your kiln and fire it to a temperature that will harden your clay and prepare it for glazing (usually around Bisque temperature: 1820°F).
4. Glazing Techniques
Glazing adds color and a glassy finish to your pottery, enhancing both aesthetic appeal and functionality. Here are popular glazing techniques you might consider:
- Dipping: Submerge your piece into a glaze bucket.
- Brushing: Apply glaze with brushes for more detailed work.
- Spraying: Use an airbrush for even coverage and a modern look.
When applying glaze, keep in mind that it shrinks during firing, so a thin, even coat is ideal.
5. Final Firing and Finishing Touches
- Glaze Firing: Once glazed, fire your pieces again at a higher temperature (typically between Cone 04 and Cone 6, or 1850°F to 2232°F).
- Cooling: Allow the kiln to cool gradually before opening it to prevent cracking.
6. Expert Perspectives on Pottery
Experts in the field emphasize the significance of patience and practice in mastering pottery. According to renowned potter Simon Leach, “Pottery is about the journey as much as the destination. Don’t rush; allow yourself to learn from each piece.”
7. Problem Solving Common Pottery Issues
Even with careful processes, issues can arise. Here are solutions to common problems:
- Cracking During Drying: Ensure proper moisture levels and avoid rapid drying conditions.
- Glaze Crawling: Often a result of dust on the surface before glazing; clean thoroughly.
- Uneven Walls: Take your time centering and pulling up walls, applying consistent pressure.
8. The Therapeutic Benefits of Pottery
Beyond creativity, pottery has been noted for its mental health benefits. Engaging in hands-on art reduces stress and increases mindfulness. A study published by the American Journal of Occupational Therapy found that participants who engaged in art-making reported a 30% decrease in stress levels.
9. Building a Pottery Community
Joining a pottery class or local studio can enhance your skills significantly. Interacting with fellow potters offers opportunities for collaboration, feedback, and inspiration. Many communities have pottery guilds or workshops where you can learn from seasoned experts.
10. Conclusion: The Pottery Journey Awaits
Pottery is a rewarding craft that merges creativity and skill. By following this pottery tutorial, you’re well on your way to creating unique pieces that reflect your individuality. Remember, the most crucial part of this journey is patience. Each piece you make teaches you something new.
The pottery world is vast and full of depth, and with practice, you’ll improve and find your unique style. Start your journey today, and let your creativity flow through the clay!
For more insights into specific pottery techniques or material considerations, explore our other articles at /blog/. Happy potting!